Latest News
-

In a recent change of heart, Apple made exceptions to their App Store rules that now allow emulators! As a direct result of this change, the well known Delta emulator app is now available to download and install on all devices running iOS 17.
Read More » -

As the countdown begins for Apple’s highly anticipated special event, rumors and leaks surrounding the upcoming iPhone 15 and new Apple Watch models have been flooding the tech world. While initial reports suggested that the Apple Watch Series 9 would not bring any significant changes, a recent article from Bloomberg has shed light on some exciting updates we can expect. In this article, we will delve into the latest rumors, particularly focusing on the improved…
Read More » -
The anticipation surrounding Apple’s annual product launches is always palpable, and this year is no exception. As we eagerly await the unveiling of the iPhone 15 series, rumors and leaks have been circulating about the new features and design elements of the upcoming devices. One particular rumor that has caught the attention of tech enthusiasts is the possibility of a titanium frame on the iPhone 15 Pro and iPhone 15 Pro Max, which could result…
Read More » -
Apple has recently released the highly anticipated update, iOS 16.6.1, for iPhones. This update comes with a range of new features and important security fixes that every iPhone user should be aware of. In this article, we will delve into the various changes and improvements that iOS 16.6.1 brings, as well as discuss whether it is advisable to update to this latest version. So, let’s get started!
Read More » -
Download links for iOS 16 and iPadOS 16 can be found here. This is the first major beta release since iOS 15 was made available last fall. Thankfully, due to recent developments, Apple has made it easier to install iOS 16! Get iOS 16 early by following the steps outlined in this article.
Read More » -
Apple’s annual WWDC keynote is currently underway. The company is expected to announce multiple new iterations of all of their operating systems, including iOS 16, macOS 13, iPadOS 16, and more. Where Can I Watch? HERE! The above stream is from directly within Apple’s event. Watch on either an iOS device or a Mac with Safari. Backup WWDC 2022 Stream Watch the above for a backup, however it might have some lag when compared to…
Read More » -

Today, Apple will hold their annual iPhone event at 10am PT. The company is expected to announce multiple new iPhone 13 models, as well as other possible surprises. Apple Watch Series 7, AirPods 3, and iOS 15 could be secondary topics. Will we get any other exciting announcements? We’ll find out tomorrow! Needless to say, this week will be exciting for Apple fans the globe over! Where Can I Watch? HERE! You might be wondering…
Read More » -
Apple’s annual WWDC keynote is currently underway. The company is expected to announce multiple new iterations of all of their operating systems, including iOS 15, macOS 12, iPadOS 15, and more. Where Can I Watch? HERE! [adinserter block=”4″] [adinserter block=”5″] The above stream is from directly within Apple’s event. Watch on either an iOS device or a Mac with Safari. Backup WWDC 2021 Stream [adinserter block=”6″] Wathc the above for a backup, however it might…
Read More » -

[adinserter block=”4″] [adinserter block=”5″] April 20th, 2021 Apple’s Spring Loaded event is currently underway. The company is expected to announce multiple new iPad models, as well as other possible surprises. Apple Silicon Macs, namely the iMac, third-generation AirPods, and the much-rumored ‘AirTags’ could all be secondary topics. Whatever tomorrow has in store for us, we’ll find out soon – together. This week will be exciting for Apple fans the globe over!
Read More » -
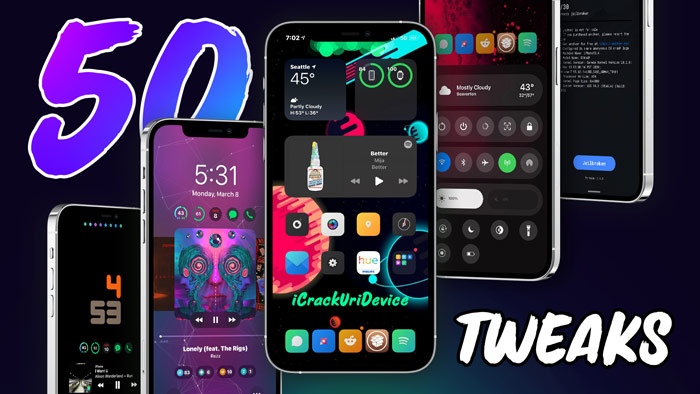
Today we have an all-new list of 50 Cydia tweaks to share with you! All of the Cydia tweaks in today’s list work on iOS 14 – iOS 14.3 across all devices. There’s only one requirement to install any of these top tweaks: you must be jailbroken!
Read More »